Everything You Need to Know About Propagating African Violets: These charming houseplants, with their velvety leaves and vibrant blooms, are a joy to cultivate. But did you know that you can easily create new African violets from existing plants?
This guide will delve into the fascinating world of African violet propagation, covering everything from choosing the right methods to nurturing your new plants to maturity.
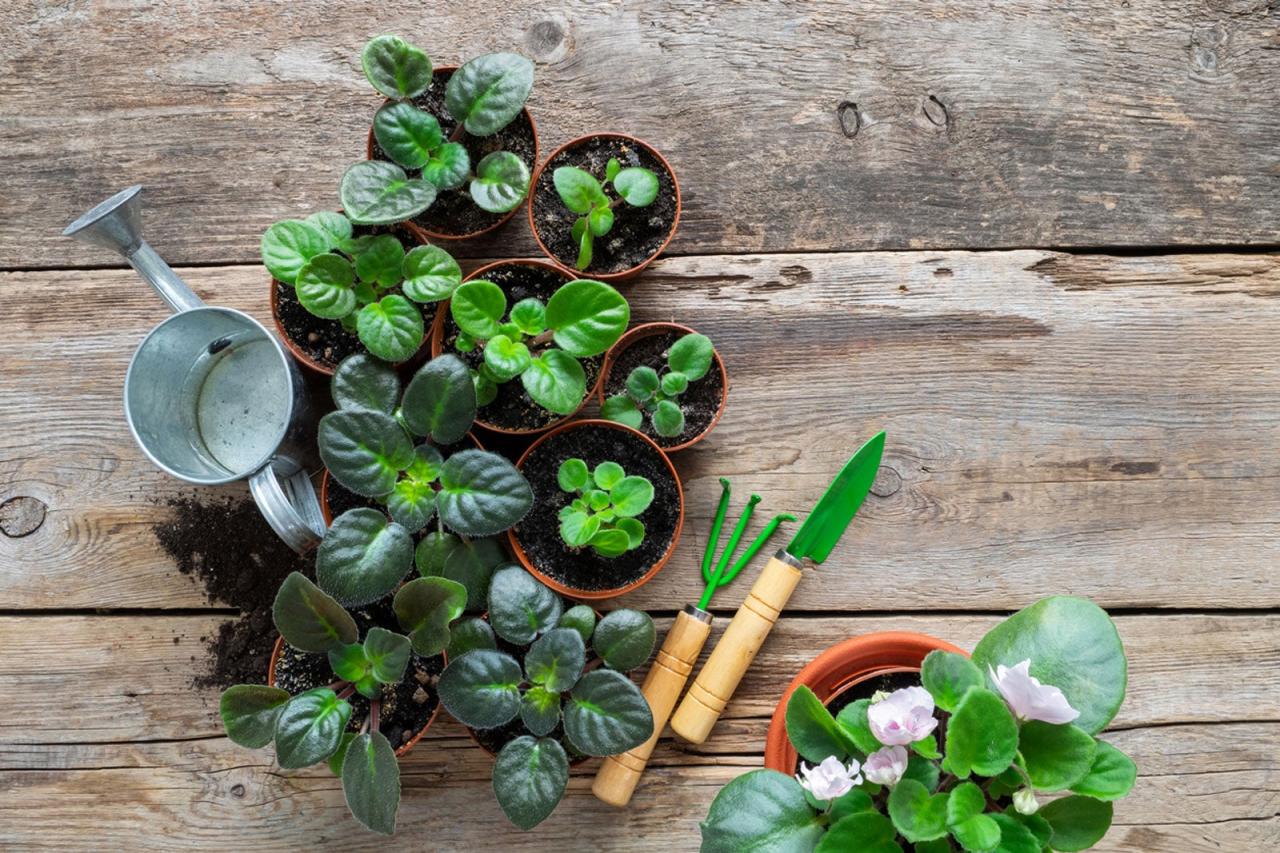
African violets, native to the eastern regions of Africa, have captured the hearts of plant enthusiasts worldwide. Their unique characteristics, including their delicate blooms, velvety leaves, and relatively easy care requirements, make them ideal for indoor gardening. Propagating African violets is a rewarding experience that allows you to expand your collection and share these delightful plants with others.
Introduction to African Violets
African violets are beloved houseplants known for their delicate beauty and ease of care. These charming plants, native to the tropical regions of East Africa, have captured the hearts of plant enthusiasts worldwide. Their vibrant blooms, velvety leaves, and compact size make them a perfect addition to any home.
Origin and History of African Violets
African violets belong to the genusSaintpaulia*, named after Baron Walter von Saint Paul-Illaire, a German colonial administrator who discovered the plant in 1892 in the Usambara Mountains of Tanzania. These plants were introduced to Europe and the United States in the early 20th century, where they quickly gained popularity.
Since then, numerous cultivars and hybrids have been developed, offering a wide array of colors, patterns, and leaf shapes.
Unique Characteristics of African Violets
African violets are renowned for their distinctive features that make them stand out among other houseplants. Some of these characteristics include:
- Velvety Leaves:The leaves of African violets are covered in fine hairs, giving them a velvety texture that is soft to the touch. These hairs help the plants retain moisture and protect them from harsh conditions.
- Vibrant Blooms:African violets produce clusters of delicate, five-petaled flowers that come in a rainbow of colors, including purple, pink, blue, red, and white. The flowers can be single or double, and some varieties even have fringed petals.
- Compact Size:African violets are relatively small plants, typically reaching a height of 6-8 inches. This makes them suitable for growing on windowsills, shelves, or in hanging baskets.
- Long Blooming Period:African violets can bloom continuously throughout the year, providing a constant source of color and beauty. However, they typically bloom most profusely in spring and summer.
Benefits of Growing African Violets Indoors
African violets offer several benefits to indoor gardeners:
- Air Purification:Like many other houseplants, African violets can help purify the air by removing toxins and pollutants. This can contribute to a healthier and more comfortable indoor environment.
- Stress Relief:Caring for plants, such as African violets, can be a therapeutic and relaxing activity. The process of nurturing these plants can help reduce stress and promote a sense of well-being.
- Aesthetic Appeal:African violets add a touch of elegance and beauty to any home. Their vibrant blooms and velvety leaves create a cheerful and inviting atmosphere.
- Easy Care:African violets are relatively easy to care for, making them an ideal choice for beginner gardeners. With proper light, water, and fertilizer, they can thrive indoors with minimal effort.
Propagation Methods

African violets can be propagated through various methods, each offering unique advantages and disadvantages. These methods allow enthusiasts to expand their collection and share their passion with others.
Leaf Cuttings
Leaf cuttings are the most common and successful method for propagating African violets. They involve taking a healthy leaf and using it to grow a new plant.
- Advantages:Leaf cuttings are relatively easy to root and produce multiple plantlets from a single leaf. They are also less invasive than other methods, as they do not require cutting into the main plant.
- Disadvantages:It can take several months for a leaf cutting to produce a flowering plant. The process requires patience and careful attention to detail.
Step-by-Step Instructions for Leaf Cutting Propagation
- Select a healthy leaf:Choose a mature, healthy leaf from the plant you wish to propagate. The leaf should be free of any signs of disease or pests. Avoid using leaves from the bottom of the plant as they are often older and less vigorous.
- Cut the leaf:Use a sharp knife or scissors to make a clean cut about 1 inch below the base of the leaf.
- Prepare the cutting:Remove any lower leaves from the leaf stem.
- Prepare the rooting medium:Use a well-draining potting mix specifically designed for African violets. You can also use a mixture of peat moss and perlite.
- Plant the cutting:Insert the leaf stem into the rooting medium, leaving the leaf blade exposed. Make sure the stem is not buried too deeply.
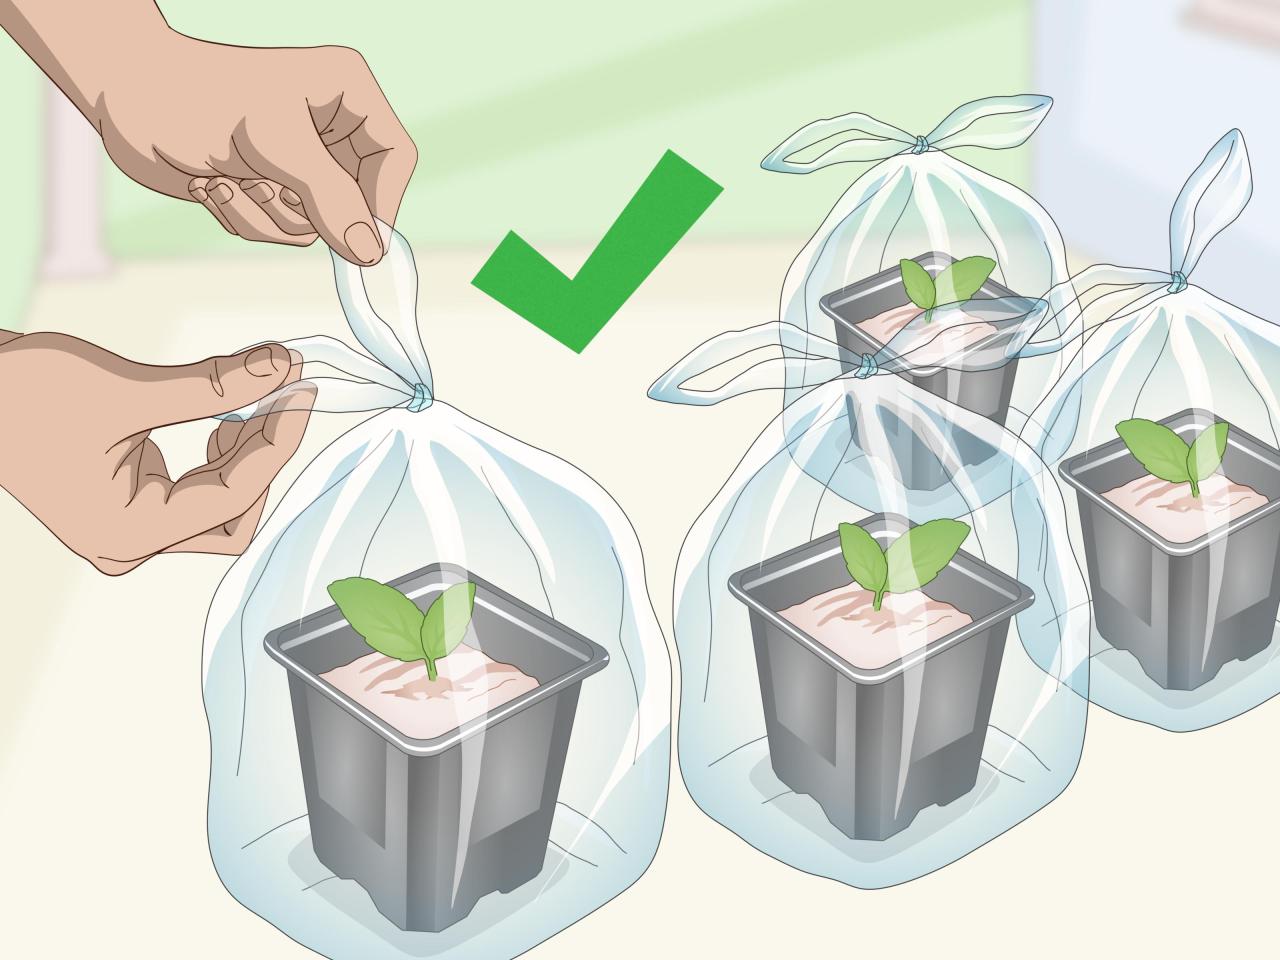
- Water and care:Keep the rooting medium consistently moist but not soggy. Place the pot in a bright, indirect light location. Avoid direct sunlight.
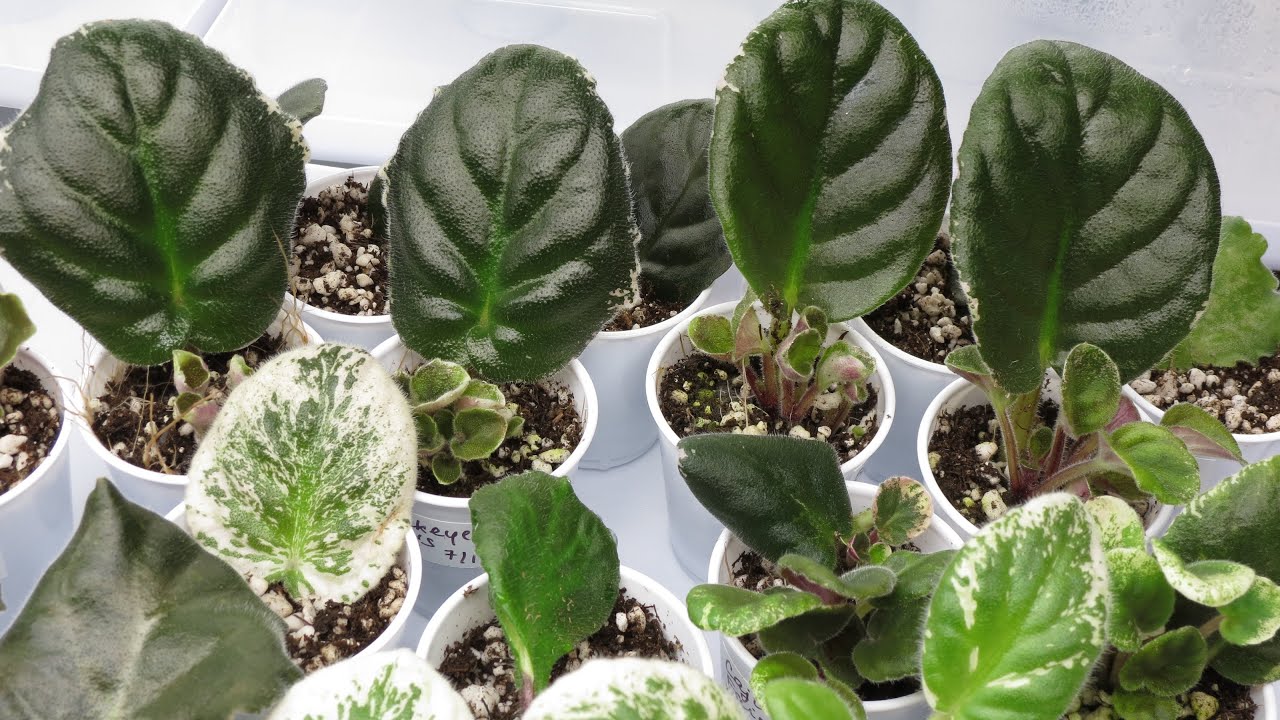
- Monitor for roots:After a few weeks, you should start to see new growth emerging from the base of the leaf stem. This indicates that roots are developing.
- Repotting:Once the plantlets have developed a few leaves, you can carefully separate them from the parent leaf and pot them individually in small pots filled with African violet potting mix.
Stem Cuttings
Stem cuttings are another method of propagating African violets, although they are less common than leaf cuttings. They involve taking a section of stem with leaves attached and using it to grow a new plant.
- Advantages:Stem cuttings can produce plants more quickly than leaf cuttings. They also offer the potential for multiple plantlets from a single stem.
- Disadvantages:Stem cuttings can be more difficult to root than leaf cuttings. They are also more invasive, as they require cutting into the main plant.
Step-by-Step Instructions for Stem Cutting Propagation
- Select a healthy stem:Choose a stem with at least two or three leaves. Avoid using stems from the bottom of the plant as they are often older and less vigorous.
- Cut the stem:Use a sharp knife or scissors to make a clean cut just below a node (where a leaf attaches to the stem).
- Prepare the cutting:Remove any lower leaves from the stem cutting.
- Prepare the rooting medium:Use a well-draining potting mix specifically designed for African violets. You can also use a mixture of peat moss and perlite.
- Plant the cutting:Insert the stem cutting into the rooting medium, making sure the nodes are not buried too deeply.
- Water and care:Keep the rooting medium consistently moist but not soggy. Place the pot in a bright, indirect light location. Avoid direct sunlight.
- Monitor for roots:After a few weeks, you should start to see new growth emerging from the nodes. This indicates that roots are developing.
- Repotting:Once the plantlets have developed a few leaves, you can carefully separate them from the parent stem and pot them individually in small pots filled with African violet potting mix.
Division
Division is a method of propagating African violets by separating the plant into two or more individual plants. It is best suited for mature plants that have multiple crowns.
Propagating African violets is a rewarding way to expand your collection or share these lovely plants with others. While traditional methods involve leaf cuttings or stem cuttings, African Violet Propagation: The Lazy Gardener’s Method offers a more relaxed approach, focusing on the natural tendency of these plants to produce plantlets at the base.
Whether you choose the traditional or the “lazy” method, the joy of successfully propagating African violets is sure to flourish.
- Advantages:Division is a quick and easy way to propagate African violets. It also allows you to maintain the characteristics of the parent plant.
- Disadvantages:Division can be stressful for the plant, especially if it is not done carefully. It is also not suitable for all African violets.
Step-by-Step Instructions for Division Propagation
- Prepare the plant:Gently remove the African violet from its pot and loosen the soil around the roots.
- Separate the crowns:Carefully separate the crowns using a sharp knife or your fingers. Each crown should have its own set of roots.
- Prepare the pots:Fill small pots with African violet potting mix.
- Plant the divisions:Plant each division in a separate pot, making sure the crown is at or slightly above the soil level.
- Water and care:Water the divisions thoroughly and place them in a bright, indirect light location. Avoid direct sunlight.
Selecting and Preparing Leaf Cuttings
Selecting the right leaf cuttings is crucial for successful African violet propagation. Choosing healthy, mature leaves with ideal characteristics ensures a higher chance of producing strong, healthy plantlets.
Preparing Leaf Cuttings
The preparation process for leaf cuttings involves selecting healthy leaves, making clean cuts, and removing any damaged or diseased parts.
- Select healthy leaves:Choose leaves from a healthy, established African violet plant. The ideal leaves are mature, but not too old, and have a vibrant green color. Avoid leaves that are yellowed, discolored, or have signs of pests or diseases.
- Make a clean cut:Use a sharp, sterilized knife or scissors to make a clean cut through the leaf stem, about 1 inch below the leaf base. A clean cut promotes healthy root development and reduces the risk of infections.
- Remove damaged or diseased parts:Inspect the leaf for any damaged or diseased parts. If any are present, trim them off with a sterilized knife or scissors to prevent them from affecting the new plantlets.
Planting and Caring for Leaf Cuttings

Once your leaf cuttings have developed roots, it’s time to plant them in their own pots and nurture them into healthy African violet plants. This section will guide you through the process of planting and caring for your leaf cuttings.
Recommended Potting Mixes and Containers
Selecting the right potting mix and container is crucial for the success of your African violet leaf cuttings. Here’s a table that Artikels some recommended options:| Potting Mix | Container | Description ||—|—|—|| African Violet Potting Mix | 2-3 inch pot | This mix is specifically designed for African violets, providing excellent drainage and aeration.
|| Seed Starting Mix | 2-3 inch pot | This mix is lightweight and promotes root development, making it suitable for leaf cuttings. || Homemade Mix (1:1:1) | 2-3 inch pot | Combine equal parts peat moss, vermiculite, and perlite for a well-draining and moisture-retentive mix.
|| Plastic or Terracotta Pot | | Both materials are suitable, but terracotta pots allow for better air circulation and may require more frequent watering. |
Importance of Proper Drainage and Ventilation
Proper drainage and ventilation are essential for African violet leaf cuttings as they prevent root rot and promote healthy growth. The potting mix should allow for excess water to drain away quickly, and the container should have drainage holes to facilitate this process.
Optimal Light, Temperature, and Humidity Conditions
African violet leaf cuttings thrive in bright, indirect light, avoiding direct sunlight which can scorch their delicate leaves. Ideal temperatures range between 65-75°F (18-24°C). High humidity is beneficial for their growth, so consider using a humidifier or placing the pots on a pebble tray filled with water.
Care Schedule for Leaf Cuttings
Watering
Water the leaf cuttings thoroughly when the top inch of soil feels dry to the touch. Avoid overwatering, as it can lead to root rot.
Fertilizing
Once the leaf cuttings have established themselves, you can start fertilizing them with a diluted liquid fertilizer specifically formulated for African violets. Apply fertilizer every two weeks during the growing season (spring and summer).
Pest Control
African violets are susceptible to pests such as aphids, mealybugs, and spider mites. Regularly inspect your plants for signs of infestation. If you find any pests, treat them with insecticidal soap or neem oil.
Troubleshooting and Common Problems: Everything You Need To Know About Propagating African Violets
While propagating African violets is generally straightforward, certain issues can arise. Understanding common problems and their solutions can ensure successful propagation and healthy plants.
Root Rot
Root rot is a prevalent issue in African violet propagation, often caused by excessive moisture and poor drainage. When the soil remains overly wet, it creates an environment conducive to fungal growth, leading to root damage and decay.
- Symptoms: Wilting leaves, yellowing, and a foul odor emanating from the soil are indicative of root rot.
- Solutions: To prevent root rot, use a well-draining potting mix and ensure adequate drainage. Avoid overwatering, allowing the soil to dry slightly between waterings. If root rot is detected, repot the cutting into fresh, sterile soil, removing any decayed roots.
Fungal Diseases
Fungal diseases can affect African violet cuttings, particularly in humid environments. These diseases can cause leaf spots, powdery mildew, and other fungal infections.
- Symptoms: Leaf spots, powdery mildew, and other fungal infections are common signs of fungal diseases.
- Solutions: To prevent fungal diseases, ensure good air circulation around the cuttings and avoid overcrowding. If fungal infections occur, treat the cuttings with a fungicide specifically formulated for African violets.
Pest Infestations
African violet cuttings can be susceptible to pests such as aphids, mealybugs, and spider mites. These pests can damage the cuttings, hindering their growth and development.
- Symptoms: Aphids, mealybugs, and spider mites are common pests that can infest African violet cuttings.
- Solutions: To prevent pest infestations, inspect the cuttings regularly for any signs of pests. If pests are found, isolate the affected cuttings and treat them with an insecticidal soap or neem oil. Ensure proper ventilation and avoid overcrowding to prevent pest infestations.
Propagating African violets is a rewarding experience, allowing you to expand your collection and share these beautiful plants with others. While traditional methods often take weeks, you can achieve impressive results in just a few days with the right technique.
Learn how to propagate African violets in less than a week by visiting How to Propagate African Violets in Less Than a Week , a comprehensive guide that explores this accelerated method. Once you’ve mastered this quick propagation technique, you’ll be well-equipped to expand your African violet collection with ease and speed.
Table of Common Symptoms and Treatments
Symptom |
Possible Cause |
Treatment |
|---|---|---|
Wilting leaves, yellowing, foul odor from soil |
Root rot |
Repot into fresh, sterile soil, removing decayed roots. Allow soil to dry slightly between waterings. |
Leaf spots, powdery mildew |
Fungal diseases |
Treat with a fungicide specifically formulated for African violets. Ensure good air circulation and avoid overcrowding. |
Small, white insects, sticky residue |
Aphids |
Treat with insecticidal soap or neem oil. Isolate affected cuttings. |
Cottony white masses |
Mealybugs |
Treat with insecticidal soap or neem oil. Isolate affected cuttings. |
Fine webbing, tiny red mites |
Spider mites |
Treat with insecticidal soap or neem oil. Isolate affected cuttings. |
Maintaining Healthy African Violets

African violets are prized for their delicate beauty and vibrant blooms, but maintaining their health requires a thoughtful approach to their care. Proper watering techniques, appropriate lighting, suitable temperatures, and controlled humidity are crucial to their well-being. Additionally, regular fertilization provides the essential nutrients for healthy growth and abundant flowering.
By understanding and implementing these practices, you can ensure your African violets thrive.
Watering Techniques, Everything You Need to Know About Propagating African Violets
Watering African violets requires a delicate balance. These plants prefer a consistently moist, but not soggy, soil environment. Overwatering can lead to root rot, a common problem that can quickly kill the plant. Conversely, underwatering can cause wilting and stunted growth.
Here’s a breakdown of proper watering techniques:
- Use distilled or filtered water:African violets are sensitive to minerals and salts found in tap water, which can accumulate in the soil and harm the plant. Distilled or filtered water removes these impurities, providing a safer environment for your violets.
- Water from the bottom:Avoid watering directly on the leaves, as this can lead to leaf spotting and fungal diseases. Instead, fill a saucer or tray with water and allow the pot to sit in it for 15-20 minutes, allowing the soil to absorb moisture from the bottom.
Remove any excess water after the allotted time.
- Allow the soil to dry slightly between waterings:The best way to determine when to water is to check the soil moisture. Stick your finger about an inch into the soil. If it feels dry, it’s time to water. If it’s still moist, wait a few days.
- Avoid overwatering:Overwatering is one of the most common mistakes made by African violet owners. If you see signs of overwatering, such as yellowing leaves or wilting, repot the plant in fresh, well-draining soil and reduce watering frequency.
Light Requirements
African violets thrive in bright, indirect light. Direct sunlight can scorch their delicate leaves, while low light conditions can lead to stunted growth and a lack of flowering. Here’s how to provide the ideal lighting for your African violets:
- East-facing windows:These windows offer morning sunlight, which is less intense than afternoon sunlight. African violets can tolerate a few hours of direct morning sun, but it’s best to place them a few feet back from the window.
- North-facing windows:These windows provide consistent, indirect light throughout the day, making them an excellent location for African violets.
- South-facing windows:These windows offer intense sunlight, which can be too strong for African violets. If you have a south-facing window, use a sheer curtain or blinds to filter the light.
- West-facing windows:These windows offer afternoon sunlight, which can be too intense for African violets. Avoid placing them directly in front of west-facing windows.
- Artificial light:If you don’t have access to bright, indirect sunlight, you can use artificial light to grow African violets. Fluorescent or LED grow lights are ideal, and should be placed about 6-12 inches above the plants.
Temperature and Humidity
African violets prefer warm temperatures and moderate humidity. They can tolerate a wide range of temperatures, but extremes can stress the plants. Here are some tips for maintaining ideal temperature and humidity levels:
- Ideal temperature range:The ideal temperature range for African violets is 65-75°F (18-24°C). Avoid placing them near drafts or heat sources, which can cause temperature fluctuations.
- Humidity:African violets prefer moderate humidity. You can increase humidity by placing the plant on a pebble tray filled with water or by using a humidifier.
- Avoid cold drafts:Cold drafts can shock African violets, leading to leaf drop or wilting. Place them in a location that is protected from drafts.
Fertilizing African Violets
Fertilizing African violets provides them with the essential nutrients they need for healthy growth and abundant flowering. However, overfertilizing can be harmful, so it’s important to use a balanced fertilizer and follow the instructions carefully.
- Use a balanced fertilizer:A balanced fertilizer contains equal amounts of nitrogen, phosphorus, and potassium, which are essential for plant growth and flowering. Look for a fertilizer specifically formulated for African violets or houseplants.
- Dilute the fertilizer:Always dilute the fertilizer according to the manufacturer’s instructions. Overfertilizing can burn the roots and damage the plant.
- Fertilize regularly:Fertilize African violets every 2-4 weeks during the growing season (spring and summer). Reduce fertilization during the winter months when the plant is dormant.
- Flush the soil:Flush the soil with water every few months to remove any excess fertilizer salts that may have accumulated.
Common Pests and Diseases
African violets are susceptible to a variety of pests and diseases, which can affect their health and appearance. Early detection and treatment are crucial to prevent serious problems. Here is a table summarizing common pests and diseases, their identification, and treatment methods:
Pest or Disease |
Identification |
Treatment |
|---|---|---|
Spider mites |
Tiny, red or brown mites that spin fine webs on the underside of leaves. Leaves may appear speckled or yellow. |
Use a miticide or insecticidal soap to control spider mites. Increase humidity around the plant. |
Mealybugs |
Small, white, cottony insects that cluster on the underside of leaves, stems, and leaf axils. They secrete a sticky honeydew. |
Use a cotton swab dipped in rubbing alcohol to remove mealybugs. Apply insecticidal soap or neem oil. |
Aphids |
Small, pear-shaped insects that can be green, black, brown, or yellow. They cluster on the underside of leaves and stems, sucking sap from the plant. |
Use insecticidal soap or neem oil to control aphids. Encourage beneficial insects, such as ladybugs, to help control aphids. |
Powdery mildew |
A white, powdery coating that appears on the leaves and stems. It can cause leaves to yellow and drop. |
Use a fungicide to control powdery mildew. Improve air circulation around the plant and avoid overwatering. |
Root rot |
A fungal disease that attacks the roots, causing them to decay. Leaves may yellow, wilt, or drop. The soil may smell foul. |
Repot the plant in fresh, well-draining soil. Reduce watering frequency and avoid overwatering. |
Final Wrap-Up
Mastering the art of African violet propagation opens a world of possibilities for plant enthusiasts. From the simple act of taking a leaf cutting to the more involved process of division, you’ll gain a deeper understanding of these beloved houseplants.
As you nurture your newly propagated African violets, you’ll be rewarded with a flourishing collection that brings beauty and joy to your home.
General Inquiries
How long does it take for an African violet leaf cutting to root?
It typically takes 4 to 8 weeks for an African violet leaf cutting to root, depending on factors like the propagation method, environmental conditions, and the health of the leaf cutting.
Can I propagate African violets from flower stems?
While leaf cuttings are the most common method, you can also propagate African violets from flower stems. However, this method is less successful and requires more care.
What are the signs of a healthy African violet leaf cutting?
A healthy leaf cutting will be firm, free of damage or disease, and have a vibrant green color. It should also be relatively young and not too mature.
What is the best time of year to propagate African violets?
While African violets can be propagated year-round, the best time is during the spring and summer months when temperatures are warmer and there is more natural light.
What should I do if my African violet leaf cuttings are not rooting?
If your leaf cuttings are not rooting, check for potential issues like overwatering, inadequate light, or unsuitable growing conditions. Adjust your care practices accordingly.
